General
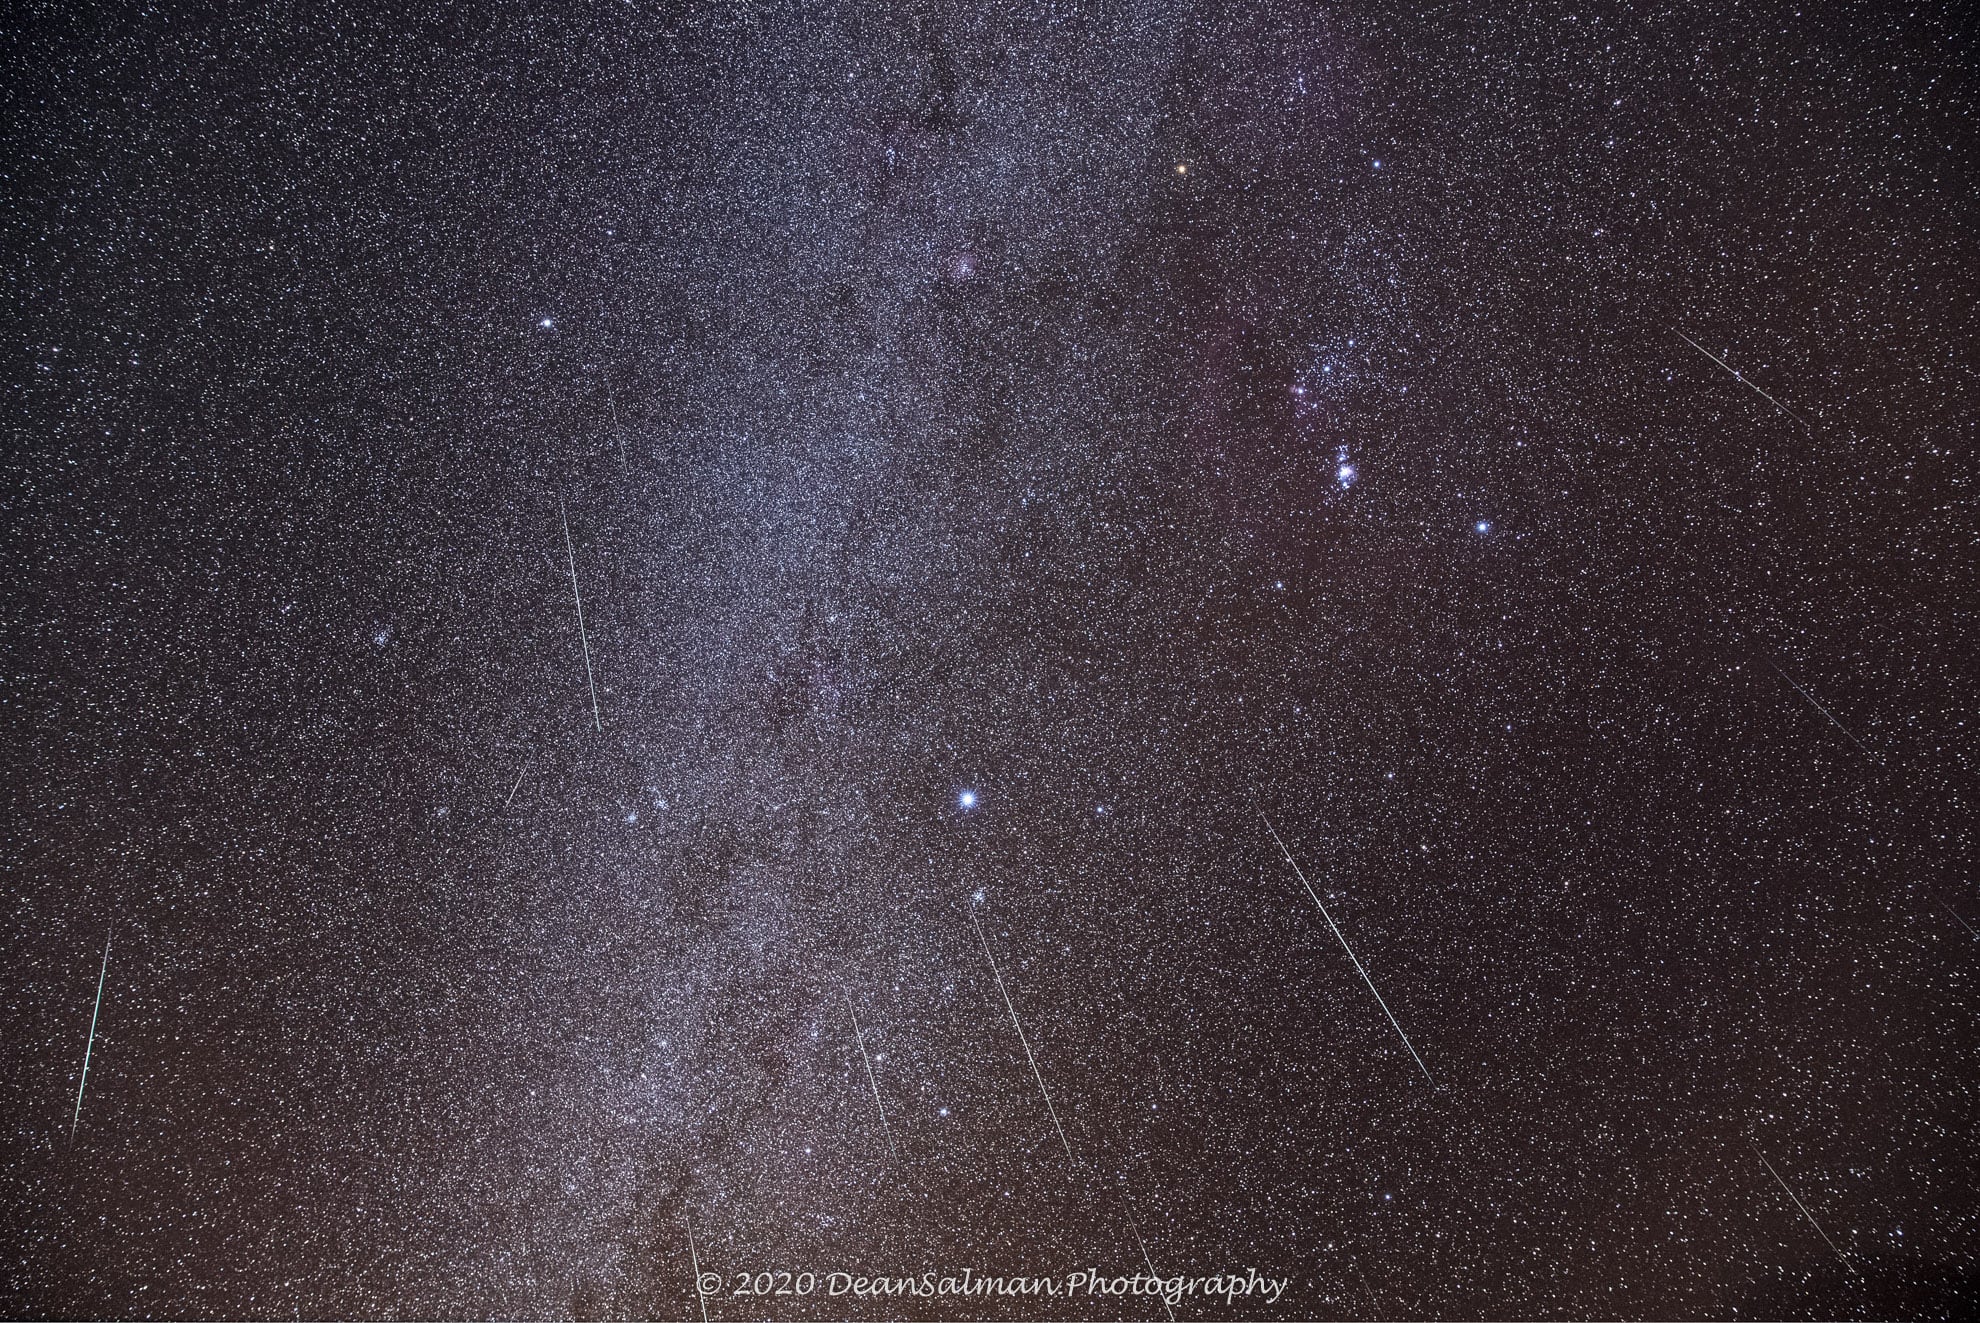
When I am outside under a moonless dark sky, I am amazed of how vast the nighttime is. Photography of the night sky is the best way for anyone to get started in astrophotography. With a simple tripod and a DSLR camera with a wide-angle lens taking short exposures works well. Today the noise in a DSLR with a high ISO of 1600 is not bad anymore. The software noise reduction does the rest of the work. The two common ways to use a tripod setup is set the camera on a high ISO and set the exposure to about 20 seconds. I would use more longer than a 50mm lens because any longer starts to see movement In stars from the earths rotation.
Capturing the images
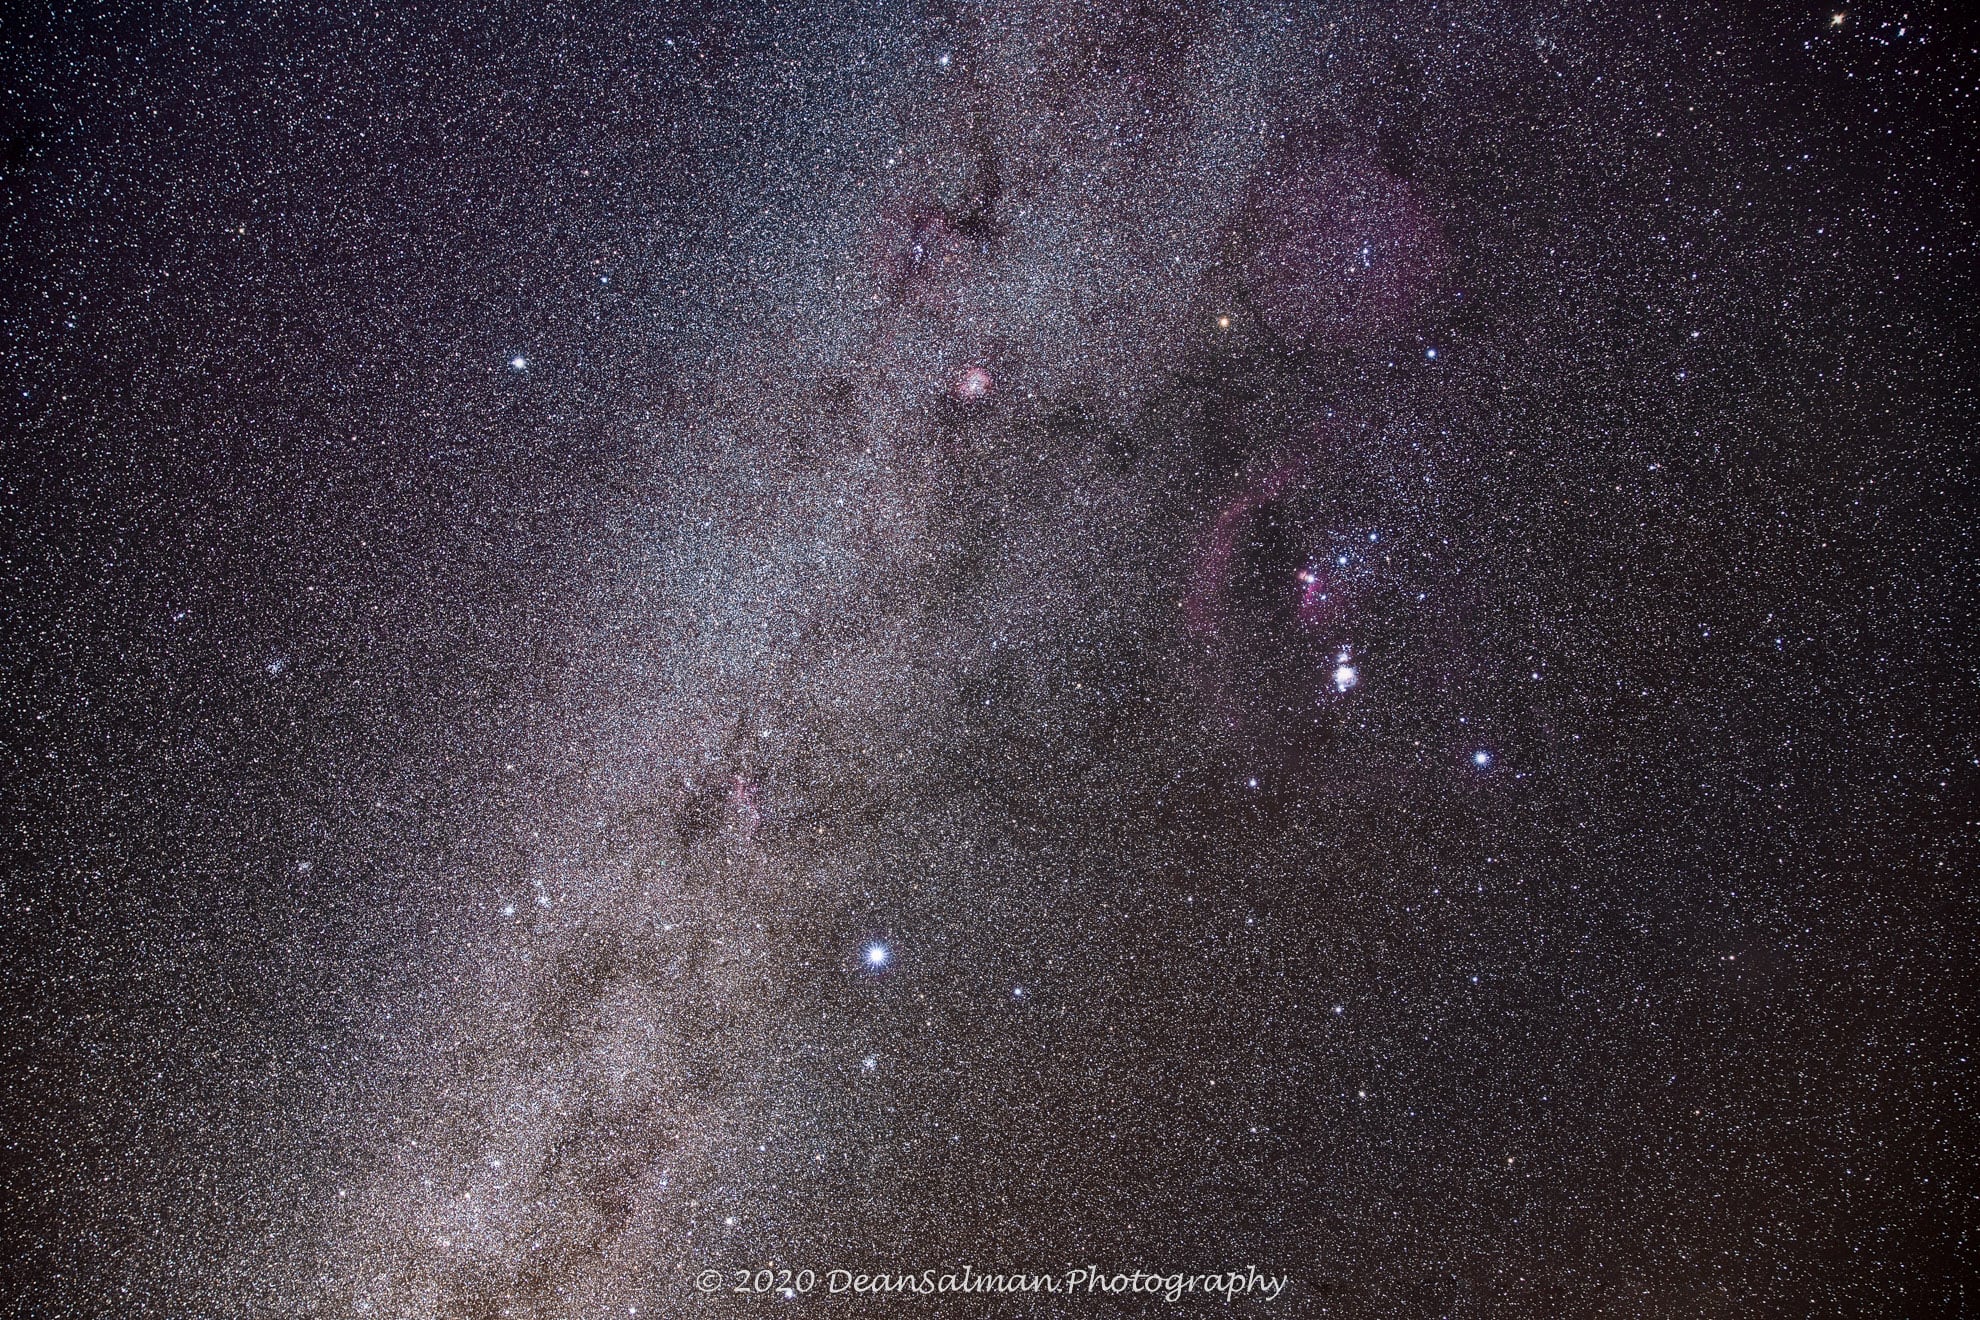
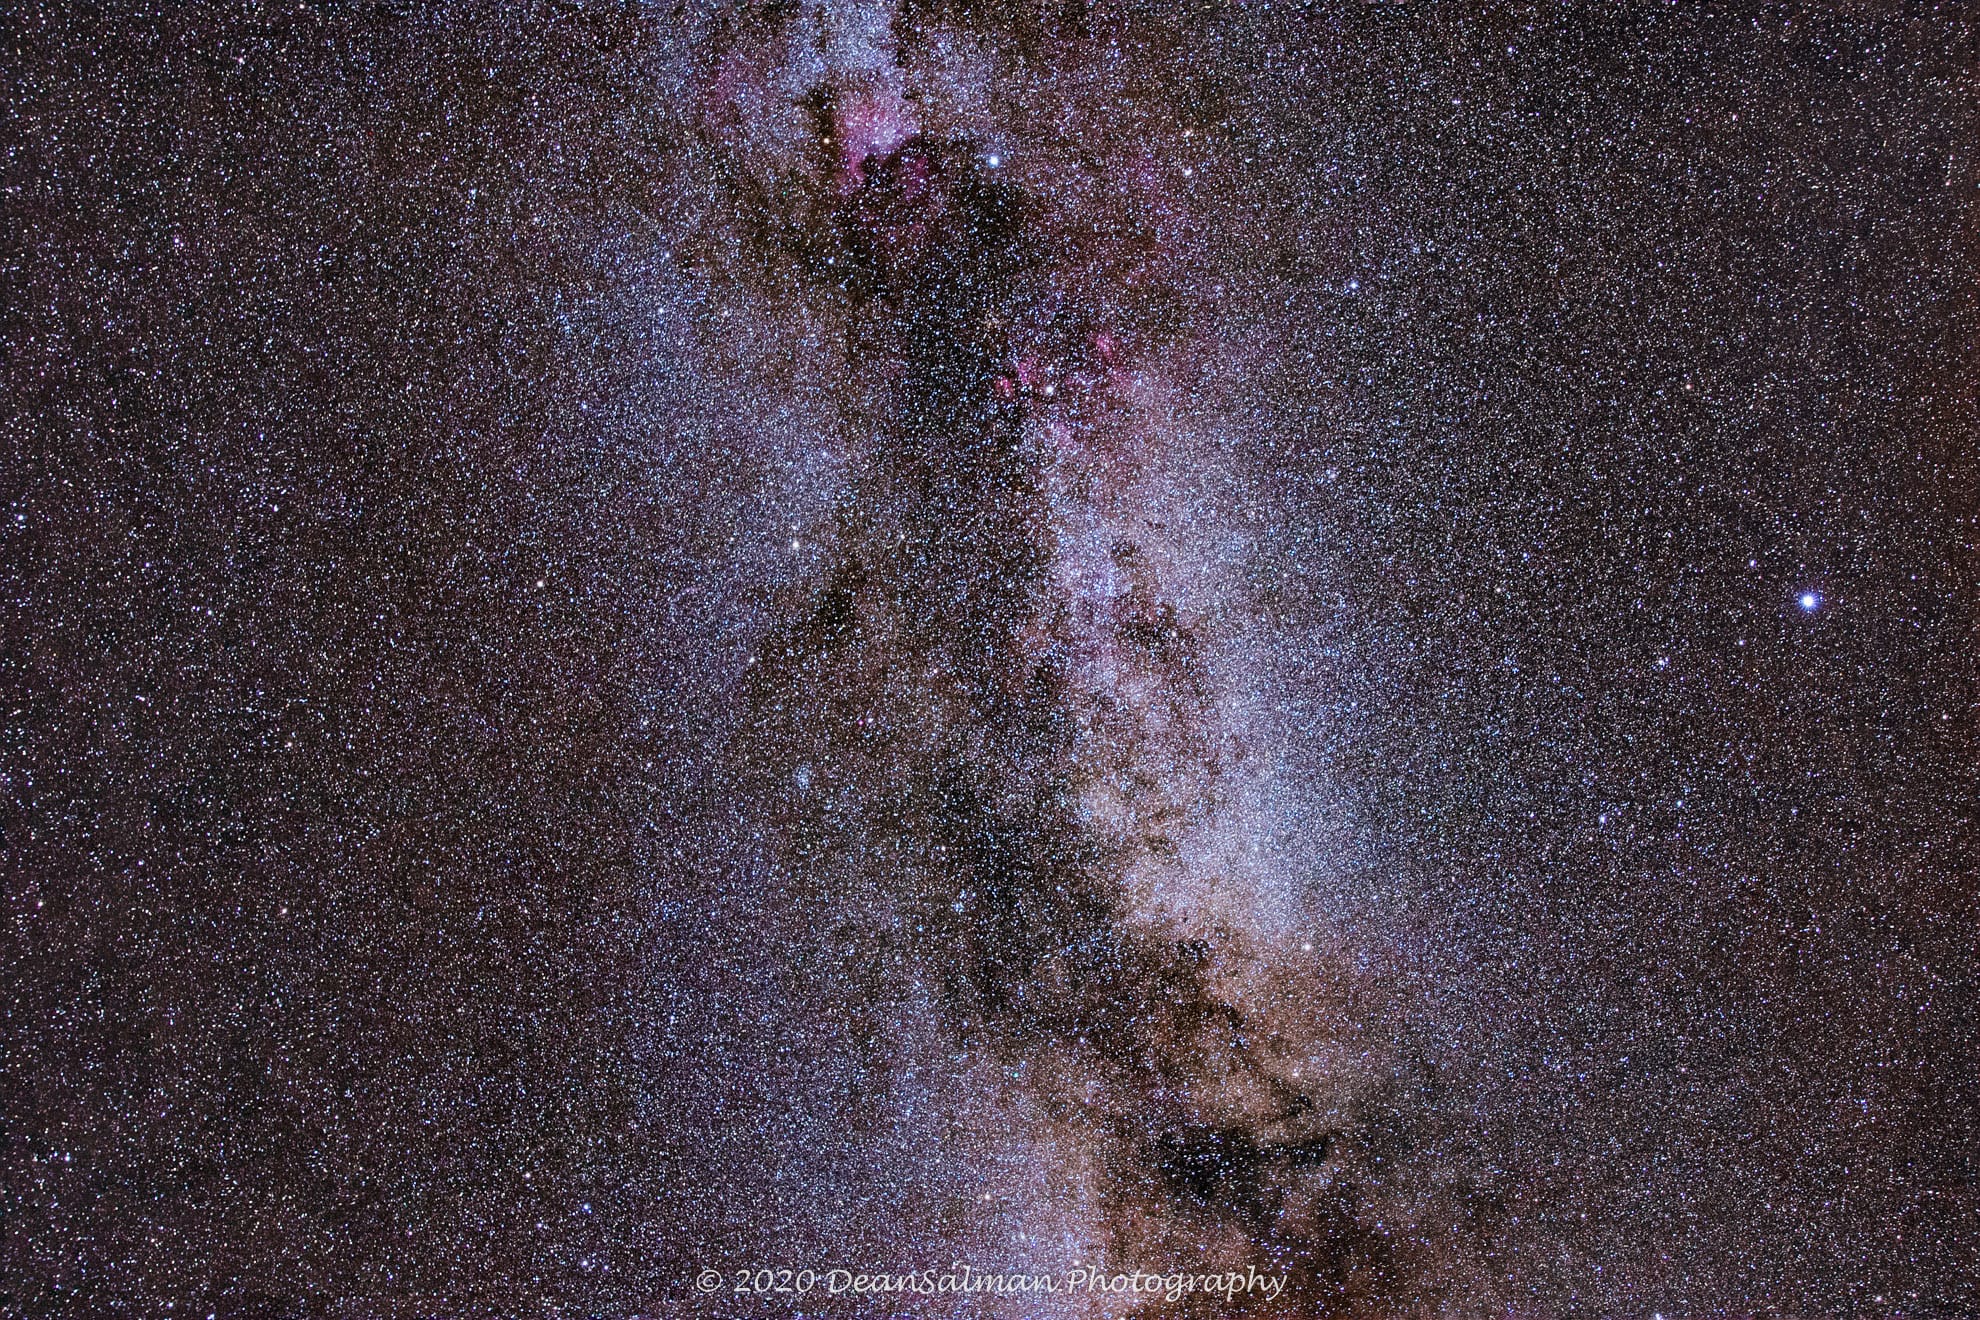
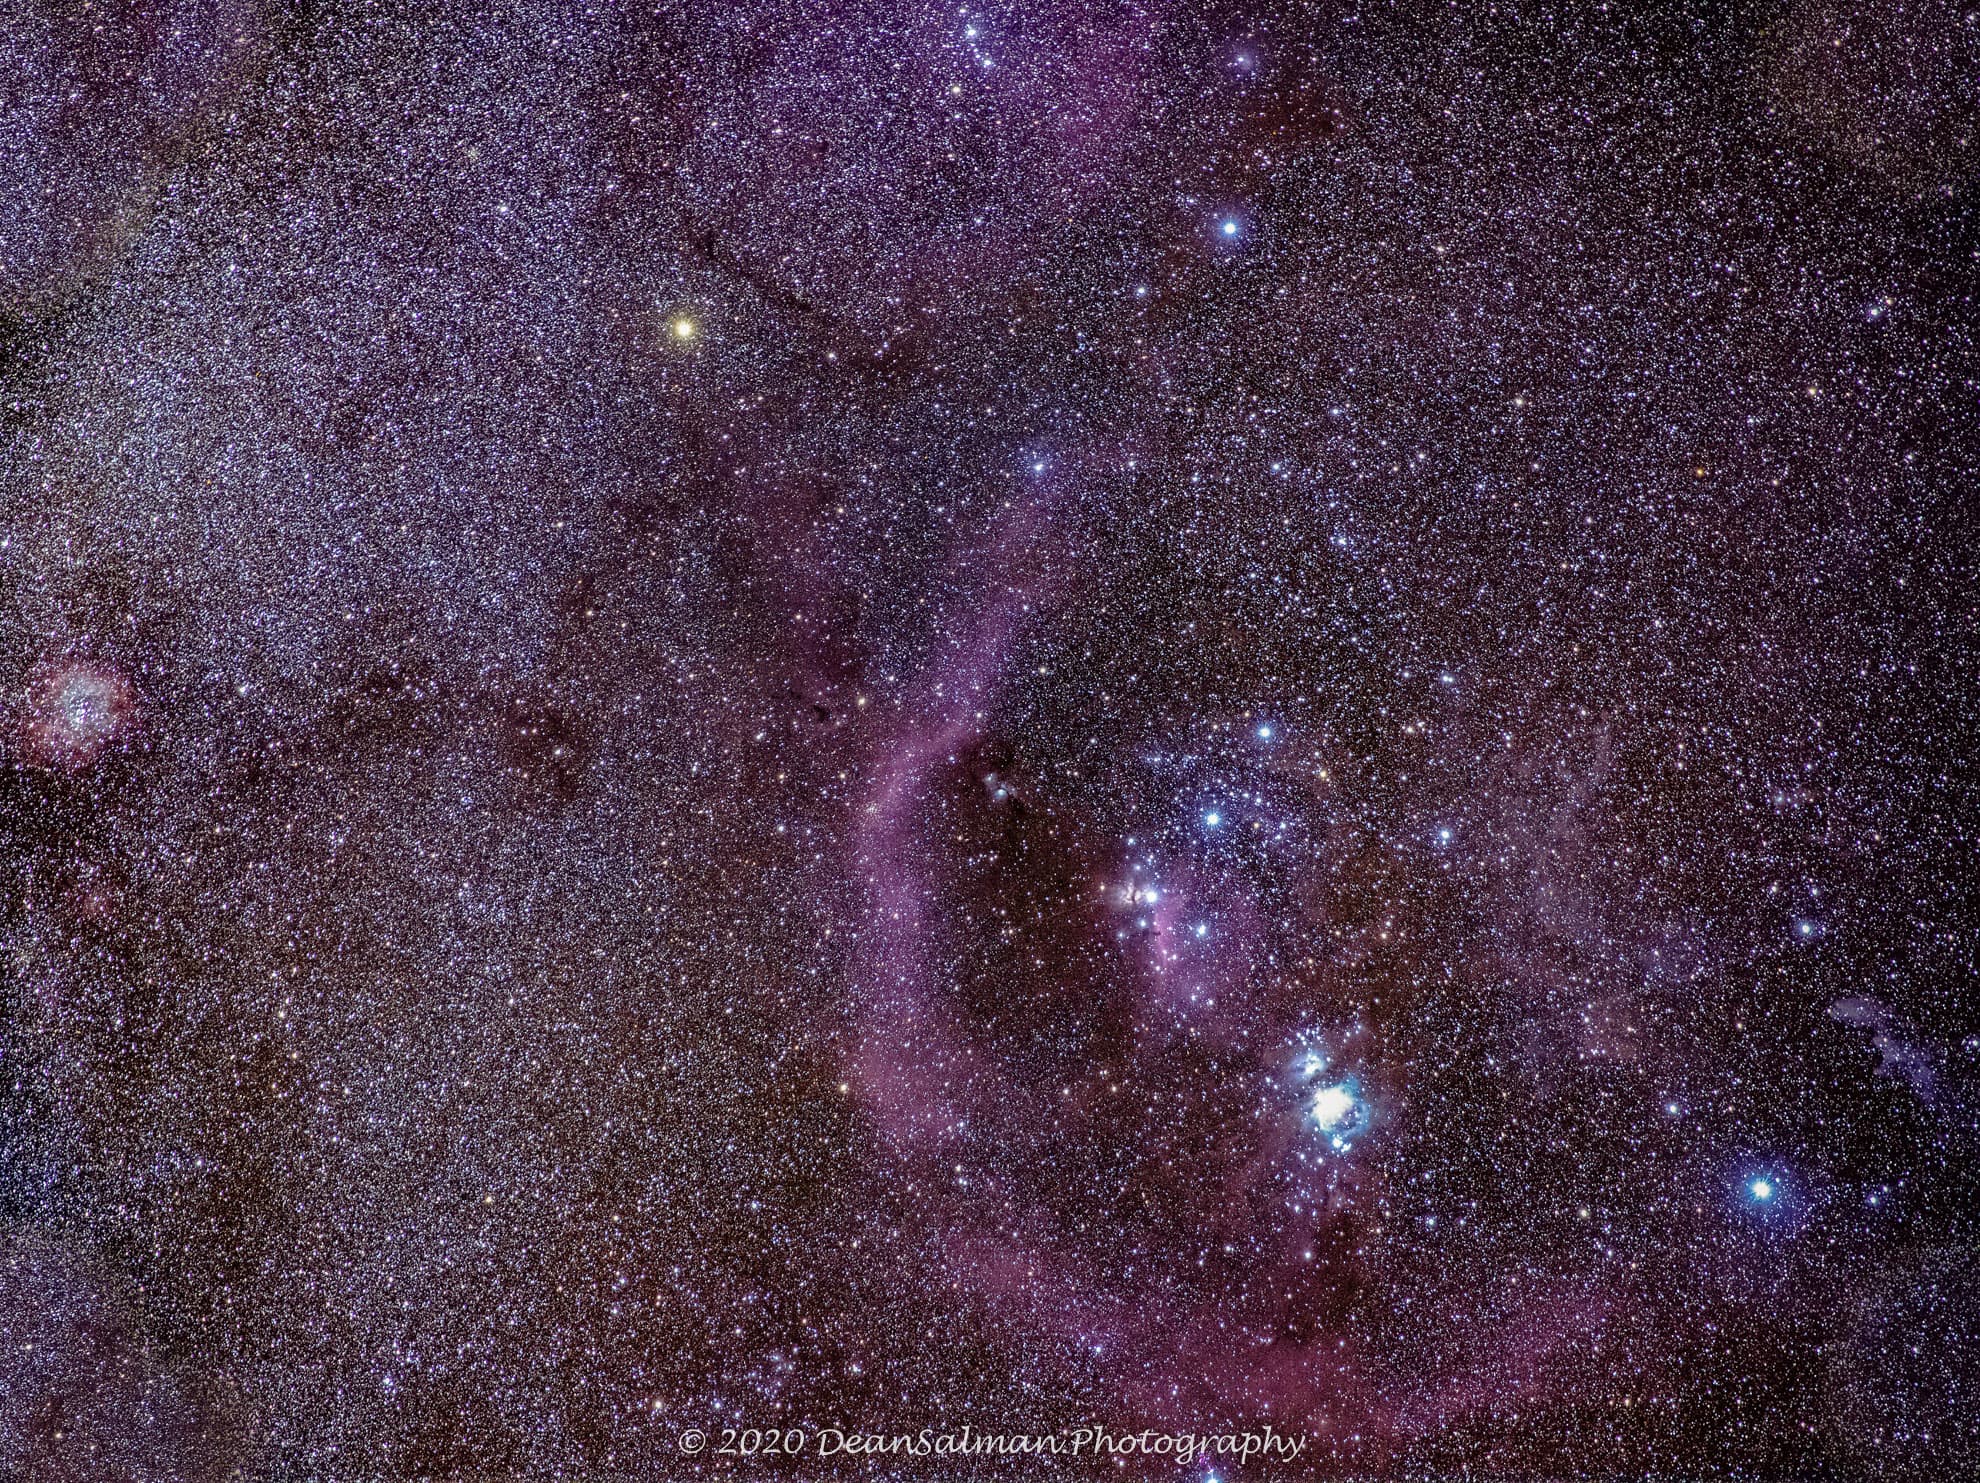
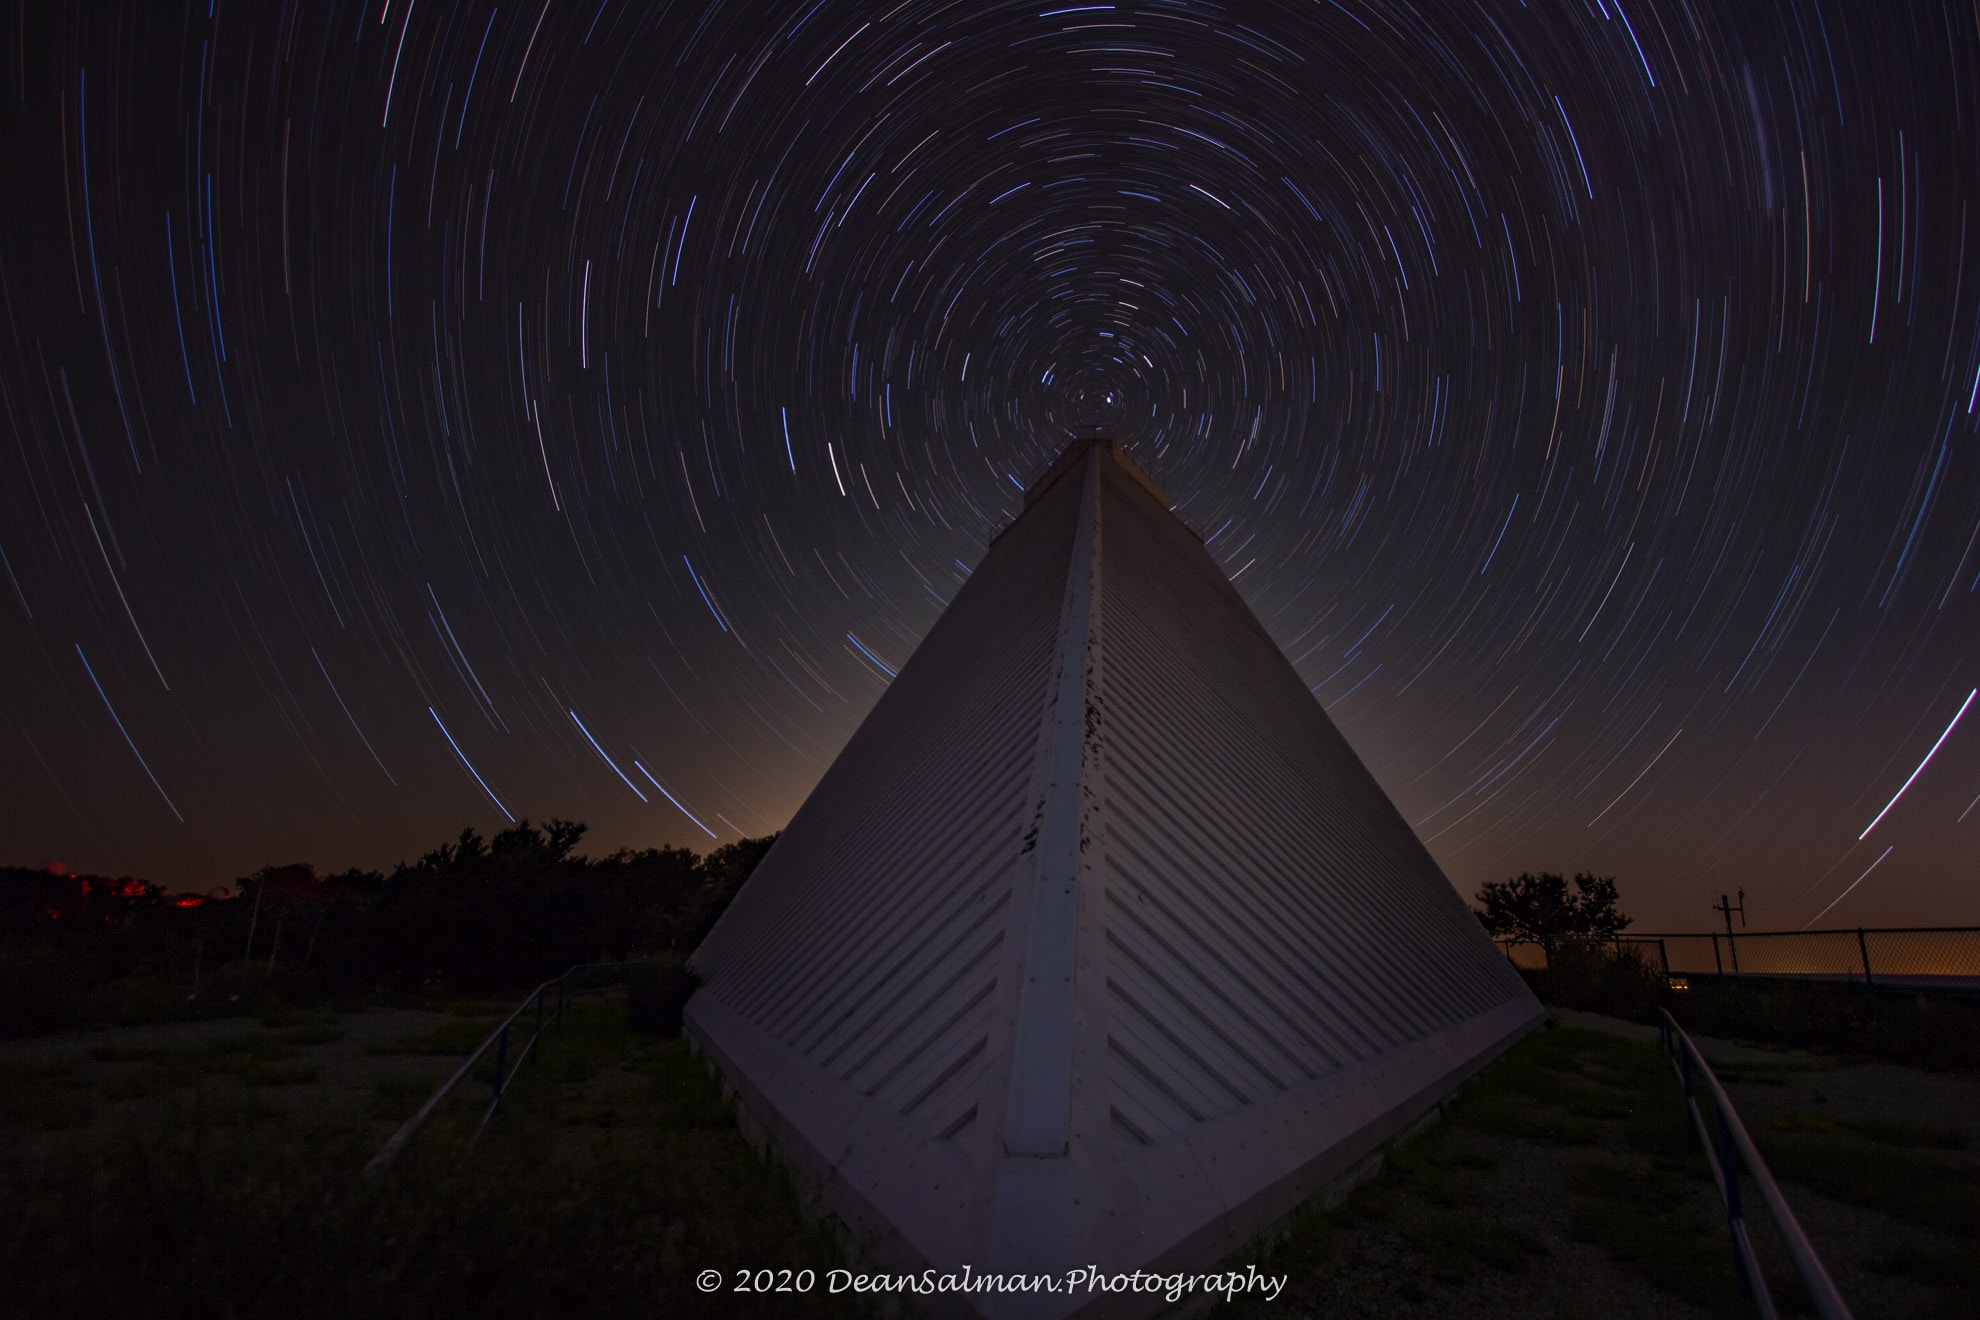
When considering night sky photography, I use tracker to take unguided 5-minute exposures with a Canon 6D ii and a 28-70 F/2.8 lens. I also use a 80mm Breakthrough Night Sky filter which reduces light pollution very well. I take anywhere from 6 to 18 exposures which is them stacked. There is a software package called Dee Sky Stacker which I do not use but I hear it works well. For polar star trails, I used a tripod and point the camera at Polaris which is our North Star. I set the ISO at 100 and with the filter take a 20 to 30 minute exposure which yields great results. I usually will pick a foreground object like a dome at Kitt Peak Observatory, the low light pollution usually illuminates the dome nicely.
Post Processing
I used a software package called PixInsight to calibrate the images, align, and stack the images. I use PixInsight for some post processing once a final image is created, however, I do most of my work on Lightroom Classic, Photoshop, and Photoshop plug-in. In some cases, I will make a smart object in Photoshop with all the layers of each exposure and align and stack them.
For God is my witness, how greatly I long for you all with the affection of Jesus Christ. Philippians 1:8


